How to Build a Zero-Waste Coffee Routine at Home
Count the trash from one morning cup. A foil-sealed pod, a paper filter, the soggy grounds, a plastic-lined to-go lid you swore you’d reuse and never did. Multiply that by 365, then by every coffee drinker on your street, and suddenly your cozy little ritual is staging a one-person landfill. Here’s the good news: you can fix almost all of it without giving up a single sip of flavor, and most of these swaps will actually save you money. Below you’ll get the exact gear to switch to, six genuinely useful things to do with spent grounds, a smarter way to buy beans, and the brewing tweaks that quietly trim your energy bill.
Start With the Filter and the Cup
The two things you throw away most often are the easiest to retire for good. Let’s deal with them first, because they’re the quickest wins on the board.
Reusable Filters That Actually Work
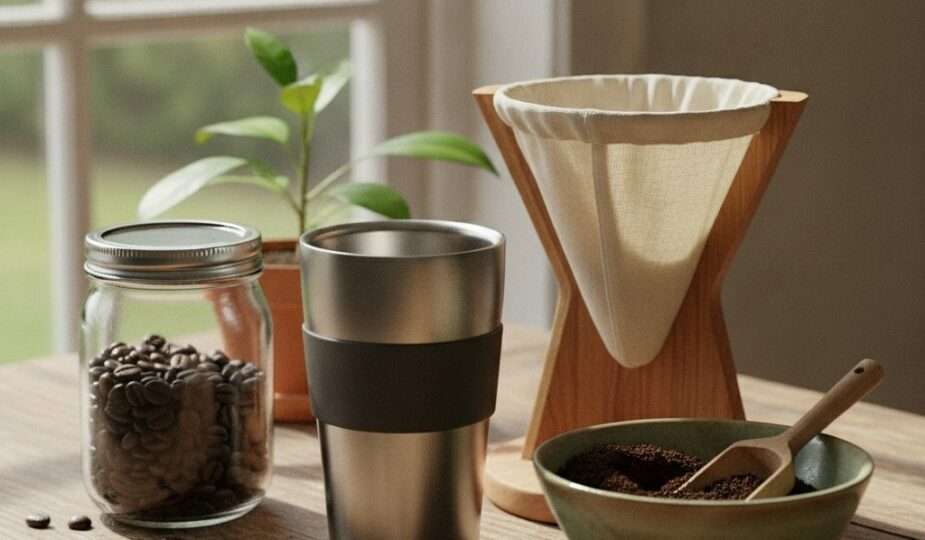
A stainless steel or fine-mesh filter lasts for years and costs about as much as two or three boxes of paper. The trade-off you should know about: metal lets more of coffee’s natural oils through, so your cup tastes fuller and a touch heavier than the clean, bright result you get from paper. If you love that body, you’ll be thrilled. If you’re a clarity purist, a hemp or organic cotton cloth filter splits the difference and composts at the end of its life.
- Pour-over: Look for a metal cone sized to your dripper. Rinse it right after brewing so oils don’t go rancid, and deep-clean it monthly in a 1:4 vinegar-to-water soak. Our pour-over guide walks through the technique that makes a reusable filter shine.
- French press: Congratulations, you already own the most zero-waste brewer there is. The built-in metal screen means zero filters, ever. If you’ve never committed to one, the French press guide is your starting line.
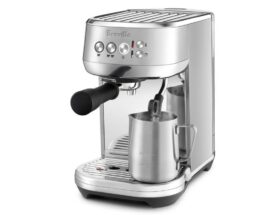
- Espresso: No filter to toss at all, just a puck of grounds headed straight for your compost. See the home espresso guide if you’re building a setup.
Bring Your Own Cup (and Mean It)
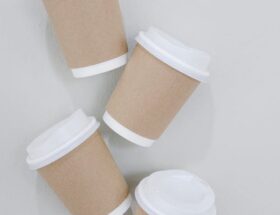
An insulated steel travel mug holds heat for hours and keeps a paper cup out of the bin every single day. The catch nobody mentions: a reusable cup only pays off if you wash it. A funky, half-rinsed tumbler is how people quietly slide back to disposables. Keep two in rotation so there’s always a clean one ready, and you’ll never have an excuse.
Ditch the Pods
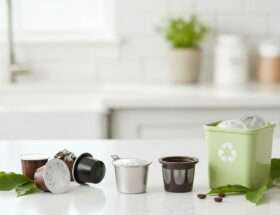
Single-serve pods are convenience wrapped in a recycling headache. Even the ones labeled recyclable usually need to be emptied, separated, and sorted before they qualify, and most people skip that, so they land in the trash anyway. The fix isn’t a downgrade.
- Refillable pod: If you adore your machine, a stainless refillable capsule lets you pack your own grounds. You keep the one-button habit and lose the waste.
- Trade up to a manual brewer: A French press or pour-over makes a better cup for less money per serving and produces nothing but compostable grounds.
One pour-over brews in about three to four minutes. That’s roughly the time you’d spend waiting for a pod machine to heat, run, and beep at you anyway.
Buy Whole Bean in Bulk (and Store It Right)
Pre-ground coffee in single-use bags loses its best aromatics within days and generates a steady stream of packaging. Buying whole bean from a bulk bin or a refill program, ideally into your own container, cuts both problems at once. Grinding fresh right before you brew is also the single biggest upgrade most home setups are missing; a decent burr grinder pays for itself in flavor.
Bulk only saves the planet if the beans don’t go stale on you, so storage matters. The enemies are air, light, heat, and moisture. Keep beans in an opaque, airtight container at room temperature and use them within two to four weeks of the roast date. Skip the fridge and freezer for your everyday stash, since temperature swings invite condensation that wrecks flavor. Our breakdowns of how to store coffee beans and the best storage containers get into the details.
Brew Smarter, Spend Less Energy
Zero-waste isn’t only about what hits the trash. The energy you burn heating water and keeping coffee hot counts too, and trimming it is easy.
- Heat only what you’ll drink. Coffee brews best at 195 to 205 degrees Fahrenheit (about 90 to 96 Celsius). Use a kettle and pour in exactly the water you need rather than boiling a full pot and dumping the rest.
- Kill the warming plate. A drip machine’s hot plate scorches coffee and sips electricity for hours. Brew into an insulated carafe instead and switch the machine off.
- Nail your ratio so you don’t re-brew. A reliable starting point is 1 to 2 grams of coffee per 30 grams (one ounce) of water, often written as roughly 1:15 to 1:18. Weak coffee tempts you to make a second batch, which doubles your waste and energy. A simple coffee scale gets you there, and our guide to adjusting coffee strength helps you dial it in on the first try.
Six Things to Do With Spent Grounds
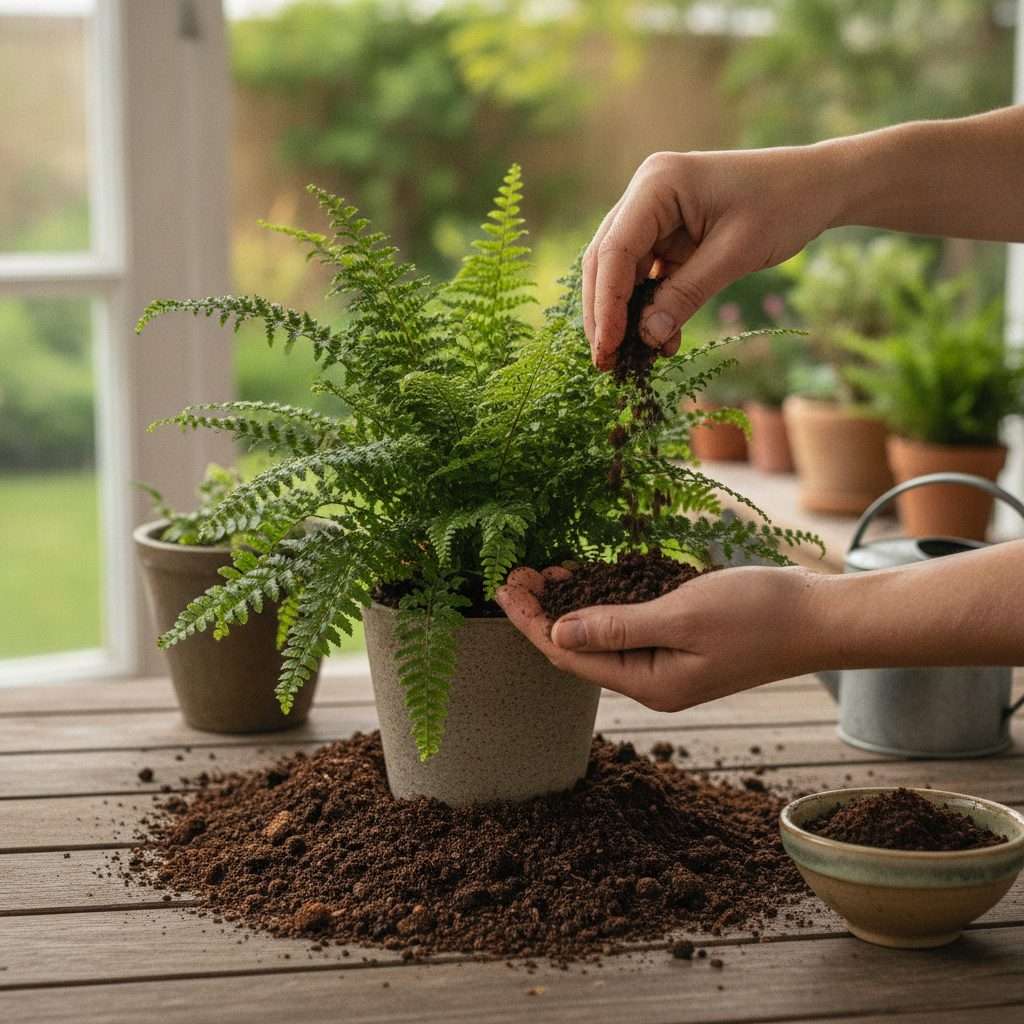
Spent grounds are the heart of a zero-waste routine because they’re endlessly useful. Composting is the headline act: grounds are nitrogen-rich “green” material, so balance them with “brown” material like dry leaves or shredded paper at roughly a 1:3 green-to-brown ratio, and don’t overload the pile, since a little goes a long way. But composting is far from your only option.
- Compost them. Add cooled grounds (paper filter included, if you used one) to your bin or municipal green waste.
- Feed acid-loving plants. Work a thin layer into the soil around blueberries, azaleas, or hydrangeas, or steep grounds in water for a mild plant tea.
- Scrub stubborn pots. The grit cuts through baked-on residue on cookware. Just don’t use them on delicate or porous surfaces that scratch.
- Deodorize the fridge. A small open jar of dry grounds absorbs lingering odors much like baking soda.
- Make a body scrub. Mix grounds with a spoonful of coconut oil for a gritty, coffee-scented exfoliant.
- Discourage garden pests. A ring of grounds around vulnerable plants helps deter slugs and snails from staging a midnight raid.
One quick reminder: let grounds dry out if you’re storing them, because damp grounds in a sealed container grow mold fast.
Choose Beans That Are Kind on the Way to Your Cup
A truly low-waste routine respects the people and land behind the harvest, not just your kitchen bin. Look for credible certifications, since they signal real standards rather than vibes.
- Fair Trade or Direct Trade for fairer prices paid to farmers.
- Certified Organic for beans grown without synthetic pesticides.
- Shade-grown or Bird Friendly for coffee that protects forest habitat instead of clearing it.
Buying from a roaster who prints the roast date and origin is a good sign you’re dealing with people who care about the supply chain. If you’re still figuring out what you actually like, our guides to selecting the perfect beans and the light, medium, and dark roast spectrum will point you in the right direction.
Frequently Asked Questions
Are reusable coffee filters actually better for the environment?
Yes, over time. A metal or cloth filter replaces hundreds of paper filters a year. The main upkeep is washing it after each use and giving it a vinegar soak monthly so coffee oils don’t build up and turn bitter.
Can I put coffee grounds and paper filters straight into compost?
You can. Grounds are a nitrogen-rich green material and unbleached paper filters are a carbon-rich brown, so they balance each other nicely. Keep grounds to a reasonable share of the pile and mix in plenty of dry brown matter so things don’t get sludgy.
Is whole bean coffee really cheaper than pods?
Almost always. Per serving, whole bean bought in bulk usually costs a fraction of single-serve pods, and it tastes fresher when you grind it right before brewing. The grinder is the only upfront cost, and it pays you back fast.
How long do whole beans stay fresh after the roast date?
Aim to use them within two to four weeks of roasting for peak flavor. Store them in an opaque, airtight container away from heat and light, and buy in amounts you’ll finish in that window rather than hoarding a giant bag.
Pick one swap to start. Ditch the pods, or commit to your travel mug, or finally compost those grounds instead of trashing them. Stack the next one on when it feels easy. Before long you’ll have a kitchen that makes a gorgeous cup and barely makes a mark, and you’ll have done it without sacrificing a thing worth keeping. You’ve earned it.