The Art of Coffee Cupping: A Comprehensive Guide
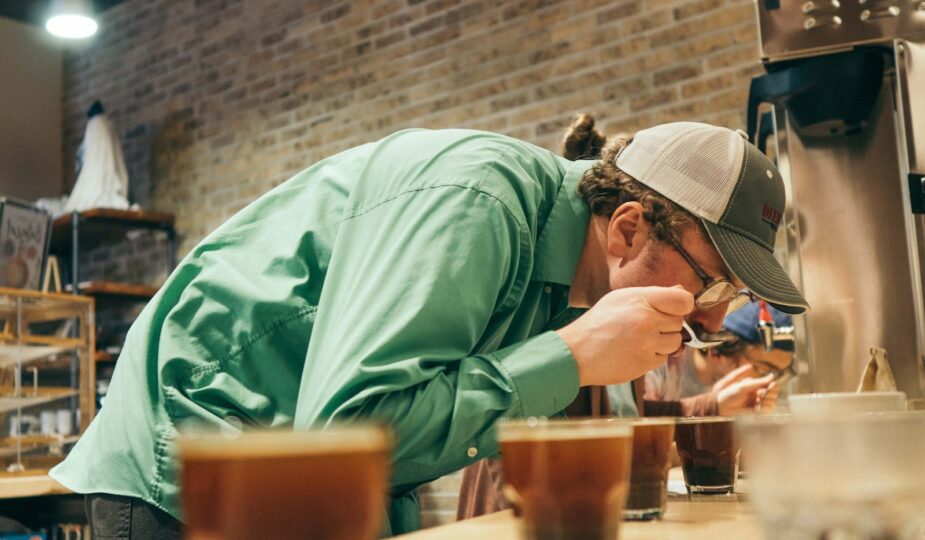
So you want to taste coffee the way the pros do, slurping loudly out of a spoon and nodding knowingly. Good. Coffee cupping is the closest thing the coffee world has to a superpower, and the wonderful news is that you do not need a lab coat to learn it. Cupping is the standardized “tasting of coffee” that lets you judge quality, hunt down hidden flavors, and finally understand why one bag of coffee beans tastes like blueberry jam and another tastes like a campfire. In this guide you will learn the entire coffee cupping process from the why to the how, with the exact ratios, temperatures, and times that separate a confident cupper from someone politely guessing.
Table of Contents
- Introduction to Coffee Cupping
- The Role of Cupping in the Coffee Industry
- Getting Started with Coffee Cupping
- Unlocking Coffee Cupping Flavors
- How to Improve Your Coffee Cupping Skills
- 1. Practice Regularly
- 2. Join Cupping Groups
- 3. Focus on Calibration
- 4. Expand Your Vocabulary
- 5. Sensory Memory Exercises
- 6. Experiment with Brewing Variables
- 7. Mentorship and Feedback
- 8. Attend Coffee Cupping Workshops and Courses
- 9. Use the SCA Flavor Wheel
- 10. Stay Updated
- 11. Embrace Feedback
- 12. Travel and Explore Coffee Origins
- Practical Tips for Novice Cuppers
- Frequently Asked Questions
- Wrapping Up Your Cupping Journey
- Additional Resources
- Author Bio
Introduction to Coffee Cupping
Why Cupping Matters
Cupping is the industry standard for evaluating coffee quality, and it earns that title because it strips away every variable that could fool you. No fancy machine, no barista flourish, no latte art to distract you, just coffee, hot water, and your senses. It gives you an objective, repeatable way to assess flavor, aroma, acidity, body, and balance side by side. Whether you are a roaster sorting through a shipment, a barista dialing in a new espresso, or a home enthusiast who simply wants to taste more, cupping deepens your relationship with the cup in front of you. Think of it as ear training for your tongue. Once you can name what you taste, you can never un-taste it, and that is the whole point.
The Role of Cupping in the Coffee Industry
Evaluating Coffee Quality
The first job of cupping is to put a number on quality. Professionals score coffee on a 100-point scale, and anything that lands at 80 points or above earns the “specialty” badge. That score is not a vibe, it is a sum of graded attributes. Cuppers use it to decide which coffee beans deserve to shine as a single origin and which will play nicely in a blend. A coffee scoring 86 with a wild jasmine aroma might be reserved for a flagship pour-over, while a clean, balanced 82 becomes the backbone of an everyday espresso. The scale turns “I kind of like this one” into a decision you can defend.
Flavor Exploration
Cupping is also pure exploration, a treasure hunt with a spoon. By tasting samples systematically, you learn to detect and describe specific notes, fruity, floral, nutty, chocolatey, spicy, and the dozens of shades in between. This is where origin comes alive. The bright, tea-like sparkle of an Ethiopian coffee and the cocoa-and-nut warmth of a Brazilian sit in two cups in front of you, and suddenly the differences are not theoretical. If you have ever wondered why coffee beans taste different, cupping is the fastest way to find out with your own palate.
Quality Control
Roasters and producers lean on cupping as quality control, the coffee equivalent of a final inspection. It catches defects early, a baggy ferment, a phenolic off-note, an underdeveloped roast, before that flaw ever reaches your kitchen. When a roaster cups every batch, they are protecting the consistency of the bag you buy next month. That same discipline runs all the way back through coffee production, where producers cup their lots to confirm that careful picking and processing actually paid off.
Getting Started with Coffee Cupping
Gathering Your Equipment
Before your first session, gather your kit. None of it is exotic, but consistency is everything, so use the same gear every time:
- Scale: For precise measurements, ideally readable to 0.1 g.
- Grinder: A burr grinder to grind coffee uniformly.
- Water: Clean and preferably filtered, around 150 ppm total dissolved solids.
- Kettle: For heating water to a precise temperature.
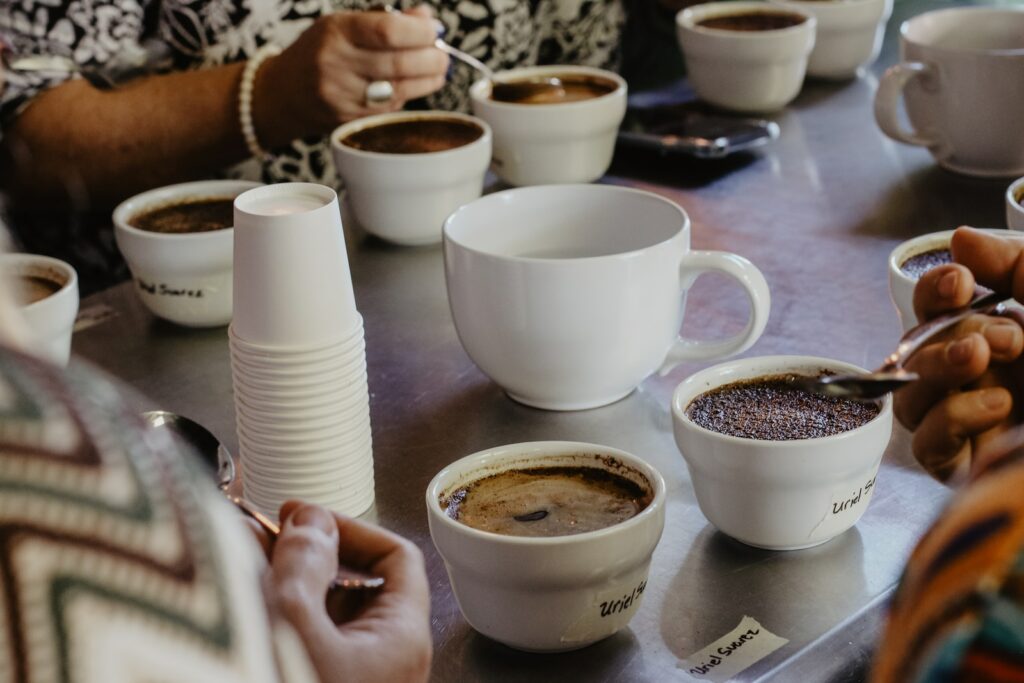
- Cups or Bowls: Standardized and uniform, 200 to 250 ml each.
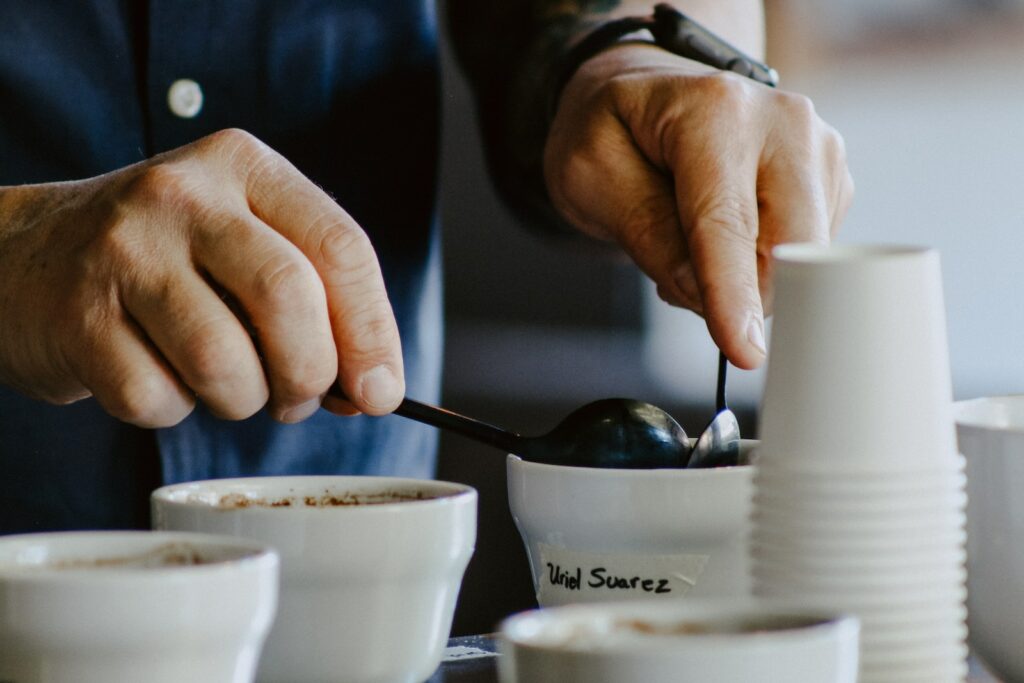
- Spoons: Deep, rounded cupping spoons made for slurping.
- Timer: To monitor your steep down to the second.
- Towels: For wiping spoons between samples and cleaning spills.
- Pens/Pencils: For recording observations in real time.
- Cupping Forms: Standardized evaluation sheets.
- Spittoons: For spitting out samples and saving your nerves.
- Consistency in equipment is crucial to ensure consistent results.
Here is the golden number to memorize: the SCA standard ratio is 8.25 grams of coffee per 150 ml of water, which works out to roughly 1 part coffee to 18 parts water. Lock that ratio across every cup and you remove the single biggest reason cuppings go sideways.
Understanding the Evaluation Form
Most sessions use the Specialty Coffee Association (SCA) cupping form, which standardizes the whole evaluation. Get cozy with it before you taste, because mid-slurp is a terrible time to learn the layout. The form scores ten attributes, each worth up to 10 points: Fragrance/Aroma, Flavor, Aftertaste, Acidity, Body, Balance, Uniformity, Clean Cup, Sweetness, and an Overall impression. Add them up, subtract any defects, and you get that final 100-point score. Knowing what each box is asking keeps your attention where it belongs instead of scrambling to remember whether you already rated the body.
Preparing Your Samples
Sample prep is where you win or lose before a drop of water touches the grounds. Do it carefully:
- Purge the grinder with a few grams of the new coffee to clear out old residues.
- Grind each sample individually, slightly coarser than drip, so the grounds float and form a crust.
- Weigh every cup to the same dose and keep grind size, water temperature, and coffee-to-water ratio identical across the table.
- Smell the dry grounds within 15 minutes of grinding, because aromatics fade fast once the beans are broken open.
Grind size matters more than beginners expect. If you are forever battling sludge in your normal brewing, the same lesson applies here, and our guide to preventing grounds in your coffee explains why a consistent grind keeps the cup clean.
Sampling the Coffee
Now the fun part. The cupping ritual follows a precise order, and the timing is not optional:
- Smell the dry grounds to log the first impression of the fragrance.
- Pour water just off the boil, around 200 to 205°F (93 to 96°C), saturating all the grounds, then start your timer.
- Let it steep for exactly 4 minutes while a crust of grounds forms on the surface.
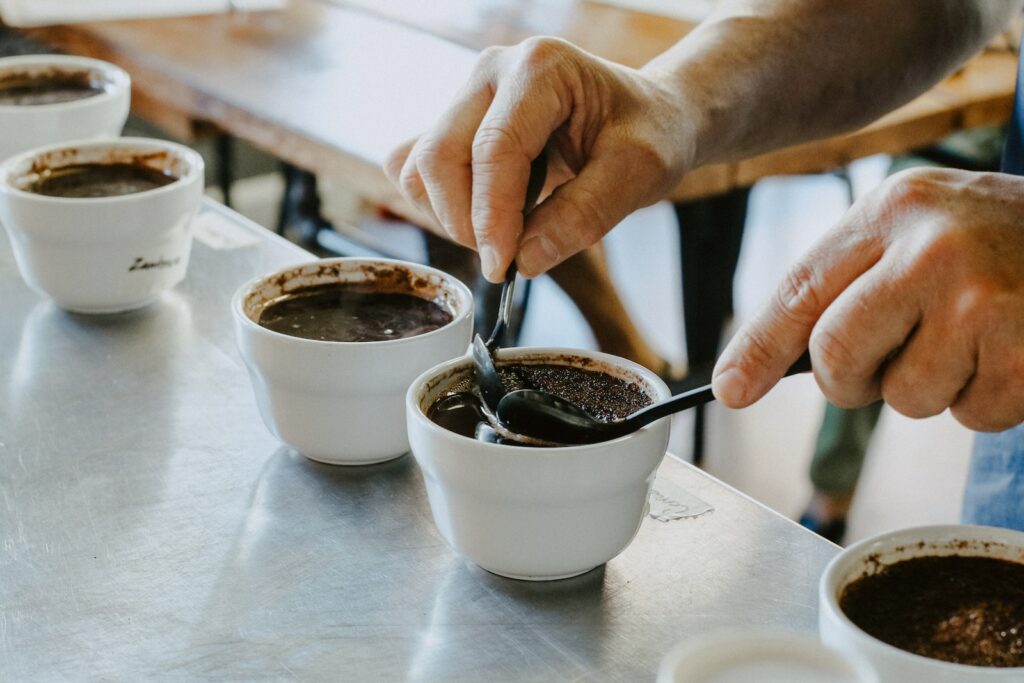
- Break the crust at the 4-minute mark by stirring three times with your spoon while leaning in to inhale the burst of aroma. This is the best smell in the entire process, do not rush past it.
- Skim off the foam and floating grounds with two spoons, then let the cups cool.
- Begin tasting around 160°F (71°C), slurping hard so the coffee sprays across your whole palate.
- Taste again as it cools, because acidity and sweetness reveal themselves at different temperatures.
- Rinse your spoon in hot water before and after every cup to avoid dragging flavor from one sample into the next.
That loud slurp is not bad manners, it is technique. Aerosolizing the coffee carries aroma up into your nasal passages, which is where most of what we call “flavor” actually happens.
How to Avoid Common Errors
A few rookie mistakes can quietly sabotage your results. Dodge these:
- Influencing Others: Keep your observations to yourself until everyone has finished scoring, so you do not steer the room.
- Excessive Caffeine Intake: Spit your samples. It prevents both a caffeine jitter-storm and the palate fatigue that flattens every later cup.
- Inconsistency: Vary your dose, grind, or water temperature and you are no longer comparing coffees, you are comparing your own sloppiness.
- Cupping cold or stale water: Off-temperature water mutes acidity and skews body, so heat with intent.
- Skipping the dry fragrance: The dry smell tells you things the brewed cup hides, so never blow past it.
Unlocking Coffee Cupping Flavors
The Magic of Coffee Cupping
Cupping lets you roam an enormous flavor map, from the bright acidity of an Ethiopian Yirgacheffe to the deep chocolate notes of a Brazilian coffee. The long, gentle steep is generous in a way a fast espresso shot never is, coaxing out subtle nuances that other brewing methods race right past. Because every cup at the table brews under identical conditions, the only thing left to explain the differences is the coffee itself, the variety, the terroir, the processing. That is the magic: cupping isolates the bean so its true character has nowhere to hide.
Identifying Flavor Notes
As you log more sessions, you will move from “this tastes good” to “this is dried apricot with a honeyed finish and a whisper of black tea.” Notes range from fruity and floral to spicy, nutty, and earthy, shaped by origin, variety, and roast profile. Roast level is a huge lever here. A light roast preserves origin character and acidity, while a darker roast pushes toward caramelized, bittersweet tones, which is exactly the territory our guide on adjusting coffee strength and flavor digs into. Cupping trains you to hear what the roaster was trying to say.
How to Improve Your Coffee Cupping Skills
Becoming a proficient cupper is a marathon, not a sprint, and every session sharpens your sensory perception a little more. Here is how to speed up the climb.
1. Practice Regularly
Practice is the whole game. The more you cup, the more your palate fills in its mental library of aromas and flavors. Block out regular sessions, solo or with friends, and treat them like reps at the gym. Even ten focused minutes a few times a week keeps your taste memory limber and your scoring honest.
2. Join Cupping Groups
Cupping groups and coffee tasting events, in person or online, are a shortcut to better skills. Experienced cuppers usually steer these sessions, walking you through protocol and sharing the kind of insight that takes years to earn alone. You also get exposed to coffees you would never have bought yourself, plus instant feedback on your notes.
3. Focus on Calibration
Calibration means lining up your perceptions with those of seasoned cuppers so a “7 acidity” means the same thing across the table. Run calibration exercises with a mentor or group, scoring the same coffees and then comparing numbers out loud. Where your scores drift from the consensus, you learn exactly which muscles need work.
4. Expand Your Vocabulary
You cannot name a flavor you have never consciously tasted, so feed your palate widely. Sample fruits, spices, herbs, and chocolates and pay attention to their signatures. Over time you will start drawing instant parallels between, say, a ripe Bing cherry and the dark-fruit sweetness in a washed Kenyan. A bigger vocabulary makes your coffee flavor descriptions sharper and far more useful.
5. Sensory Memory Exercises
Train your memory the way a musician trains their ear. Blindfolded smell tests, naming scents from jars of spices or extracts, and blind taste tests with everyday foods all force your brain to recall specifics under pressure. These drills build the recall speed you need to pin a fleeting note before the cup cools.
6. Experiment with Brewing Variables
Take a coffee you have cupped and brew it three ways, pour-over, French press, and espresso, then taste them back to back. Watching how the same beans morph across methods connects your cupping scores to real-world cups, and teaches you which brew flatters which coffee. It is the most delicious homework you will ever do.
7. Mentorship and Feedback
Find a mentor. A seasoned cupper or coffee professional can give you personalized guidance, share hard-won shortcuts, and tell you kindly that no, that is not “smoky,” that is a roast defect. Ask questions relentlessly and hand over your notes for critique. Honest feedback compresses years of fumbling into months.
8. Attend Coffee Cupping Workshops and Courses
Formal workshops and courses, especially those focused on sensory analysis, give you structure and access to industry-standard practices. Many specialty coffee associations run programs covering every angle of coffee tasting, from green grading to advanced sensory work. A weekend course can reorganize everything you thought you knew.
9. Use the SCA Flavor Wheel
The Specialty Coffee Association Flavor Wheel is your cheat sheet for putting words to taste. It nests broad categories like “fruity” into ever more specific descriptors like “berry,” then “blackberry,” so you can zoom in as your confidence grows. Keep it on the table and let it pull precise language out of your half-formed impressions.
10. Stay Updated
Coffee never holds still. New origins, varieties, and processing methods arrive every season, and the ranking of the top coffee-producing countries shifts year to year. Read industry publications, follow coffee blogs, and hit the occasional expo so your reference points stay current instead of frozen in whatever year you started.
11. Embrace Feedback
Do not flinch at constructive criticism, chase it. Share your notes with peers and mentors and genuinely listen when their scores diverge from yours. Every gap between your evaluation and theirs is a free lesson in disguise, and the cuppers who improve fastest are the ones who ask “why did you taste it that way?”
12. Travel and Explore Coffee Origins
If you can swing it, take an origin trip and watch coffee production with your own eyes. Standing on a farm, seeing the cherries picked and the lots dried, gives you a gut-level feel for the entire coffee supply chain. Once you understand how terroir and processing shape flavor, your cupping notes gain a depth no textbook can teach.
Practical Tips for Novice Cuppers
Brand new to cupping? Wonderful. Come in with an open mind and a willingness to be wrong, and these tips will fast-track your first dozen sessions.
1. Start with a Variety of Coffees
Your early goal is contrast, so source a spread of coffee beans from different regions, think Ethiopia, Colombia, Kenya, and Brazil. Tasting wildly different origins side by side trains your palate faster than any single coffee ever could, because the gaps between them are obvious even to a beginner. Each region delivers its own flavor profile, and those contrasts are your first vocabulary lessons.
2. Keep a Cupping Journal
Get a dedicated notebook and write everything down. For each session, log the coffee’s origin, roast level, and bean details, then record aroma, flavor notes, acidity, body, and aftertaste. It feels tedious for about a week, and then it becomes priceless, a running record of how your palate and preferences evolve. You will catch patterns you would never remember otherwise.
3. Don’t Rush the Process
Cupping is not a race, so slow down and savor. Inhale the dry coffee grounds first and note the opening scents, let the coffee bloom during the steep, then take small, deliberate slurps once you break the crust. Quality of attention beats quantity of cups every single time. Three coffees tasted carefully teach you more than ten rushed.
4. Experiment with Variables
Consistency rules during scoring, but a controlled experiment is a brilliant teacher. On a practice cup, nudge the water temperature, steep time, or grind size and watch how the flavor shifts. Seeing how a slightly finer grind boosts body, or how an extra minute of steep amplifies bitterness, cements your intuition about cause and effect.
5. Seek Feedback and Discussion
Talk it out with other cuppers. Share what you found, then shut up and listen to what they found. Discussing a coffee’s character out loud surfaces subtleties you sailed right past, and naming flavors in front of others makes them stick. The coffee community is famously generous with newcomers, so do not be shy.
6. Join Cupping Sessions
Whenever you can, join organized sessions hosted by roasters or local coffee folks. You get to learn from experienced cuppers, taste a broader range of coffees, and see different cupping protocols in action. It is also a low-pressure way to meet people who get just as excited about a juicy natural Ethiopian as you do.
7. Embrace the Learning Curve
You will have sessions where every cup tastes like “brown” and your scores wobble all over the place. That is normal, and it is not a verdict on your future. Treat the rough days as reps, keep showing up, and your palate will sharpen and your confidence will follow. Everyone who can name a dozen notes today once tasted only “coffee.”
8. Sample Food with Similar Notes
Cross-train your tongue. Taste chocolates at different cacao percentages to anchor “chocolatey,” then work through fruits, nuts, and spices to map them onto common coffee descriptors. The next time a cup throws a hazelnut or dried-fig note at you, your brain will have a labeled drawer ready to file it in.
9. Stay Curious
The coffee world is gloriously deep, so stay hungry for new experiences. Keep seeking out different coffee origins, processing methods, and roast profiles, and keep asking questions. Read coffee literature, attend events, and lurk in the online coffee community. Curiosity is the one ingredient that never stops improving your palate.
Frequently Asked Questions
What coffee-to-water ratio should I use for cupping?
The Specialty Coffee Association standard is 8.25 grams of coffee per 150 ml of water, which lands right around a 1-to-18 ratio. The exact number matters less than using the identical ratio in every cup on the table, because the entire value of cupping comes from comparing coffees under matched conditions. Pick your ratio, weigh precisely, and never let it drift mid-session.
How hot should the water be, and how long do I steep?
Pour water just off the boil, about 200 to 205°F (93 to 96°C), saturate all the grounds, and steep for exactly 4 minutes before breaking the crust. Then start tasting once the cup cools to roughly 160°F (71°C) and keep tasting as it drops, because acidity, sweetness, and body each show up at different temperatures. Cold or lukewarm water will mute the very notes you are trying to judge.
Why do cuppers slurp so loudly?
That dramatic slurp sprays coffee across your entire palate and aerosolizes it, sending aroma up into your nasal passages where most flavor perception actually happens. It is technique, not theatrics. A timid sip leaves half the flavor on the table, so commit to the slurp even if it feels ridiculous at first.
Do I need expensive gear to cup coffee at home?
Not at all. A decent burr grinder, a scale, a few matching bowls or glasses, regular spoons, a kettle, and a timer will get you cupping today. Filtered water and a consistent coffee bean dose matter far more than fancy equipment. Start simple, stay consistent, and upgrade only once your palate outgrows your setup.
Is acidity in coffee a bad thing?
Quite the opposite. In cupping, “acidity” describes the bright, lively sparkle that gives great coffee its sense of liveliness, like the citrus snap in a Kenyan or the floral lift in an Ethiopian. It is a prized quality, not a flaw, and it is completely different from harsh sourness. If sharpness in your daily brew bothers you, our guide on how to reduce acidity for a smoother brew walks you through taming it without losing the good kind.
Wrapping Up Your Cupping Journey
Cupping rewards you the moment you start, and it keeps rewarding you for years. Whether you are eyeing a career in coffee or just want to taste your morning cup more vividly, the skill pays off in every brew you make afterward. So gather your scale and spoons, line up a few wildly different coffees, invite a friend or two, and start slurping. Your palate is about to get a serious upgrade.
Additional Resources
For deeper dives into cupping and palate development, these references are worth your time:
Author Bio
About the author: Mike is a dedicated coffee enthusiast with 5 years of experience in the coffee industry. He is passionate about sharing their knowledge and love for coffee with readers worldwide.


